
QR codes
How do I make a Connect QR label?
Answer
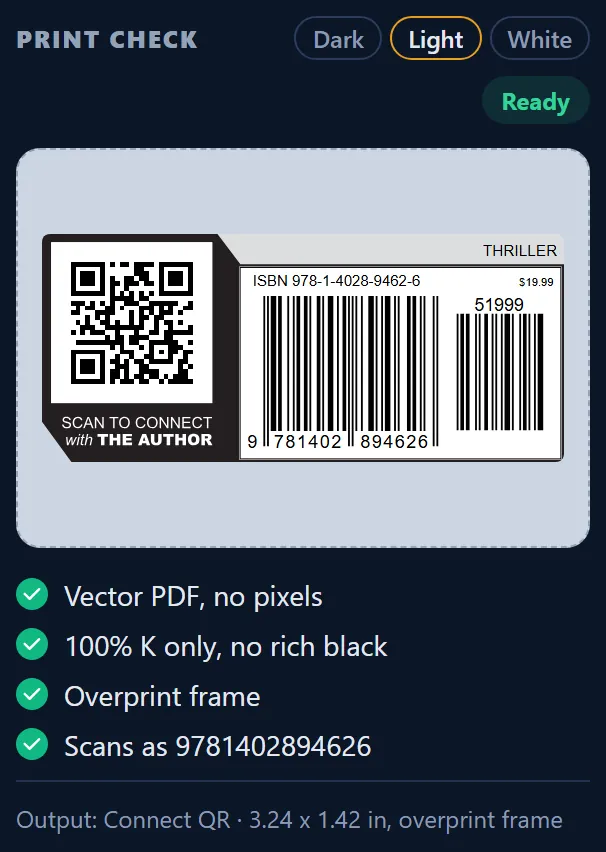
Connect QR is one ready label from Barcode Rocket with three parts: your ISBN barcode, a QR code that opens your page, and a gray band with the genre, for example THRILLER. Under the QR code it says SCAN TO CONNECT with THE AUTHOR. It needs a free account with a confirmed email.
Steps
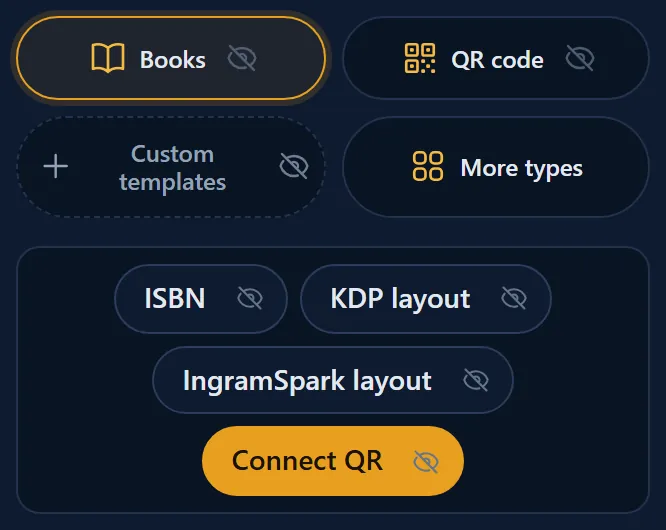
- Click Books, then Connect QR.
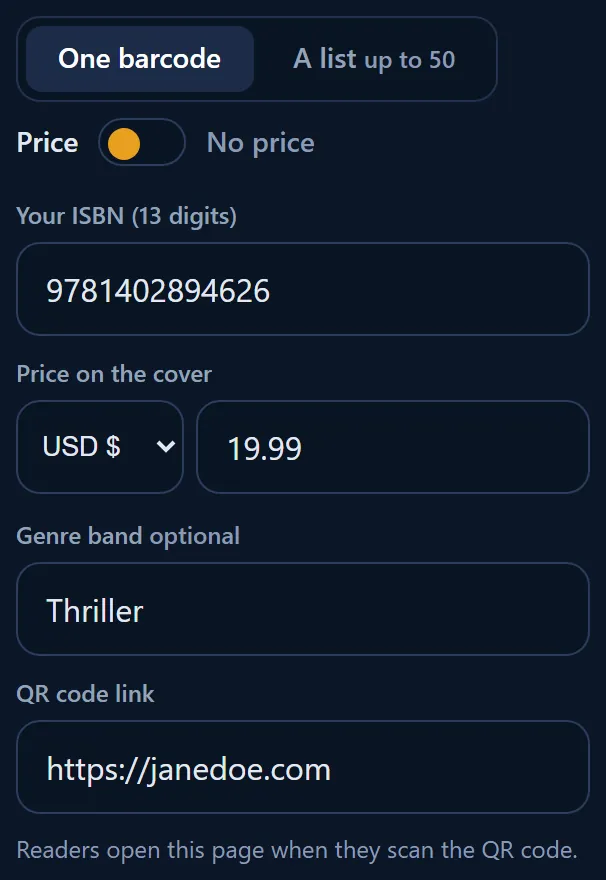
- Use the switch: Price (ISBN with the price add-on) or No price (ISBN bars only).
- Type your ISBN. On Price, type the price or leave it empty for 90000.
- Type the genre in Genre band (optional, up to 40 characters). It is printed in capital letters.
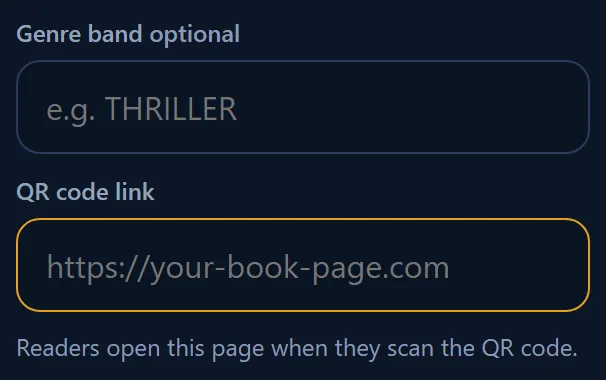
- Type your link in QR code link: the page readers open when they scan, for example your website or the book's page. This is required.
- Check the picture, then click Download vector PDF.
If the link is missing
The download button stays gray and the site says: "Add the link for your QR code: the page readers open when they scan it." The badge may already say Ready, because the barcode part is fine. The button still waits for the link. Click the gray button and the site takes you to the empty link field.
Requirements
- A free account with a confirmed email.
- A link that works. Test it with your phone before you print. A printed QR code cannot be changed later.
- Tip: use a link you control, such as your own website, so you can change where it leads without reprinting.
What is in the file
- One label, 3.24 x 1.42 in, printed with the black ink only: 100% K, with the genre band as a light tint of the black ink (15% K).
- An overprint frame, so no white gap appears on a colored cover.
- A file name such as ISBN-9781402894626-51999-ConnectQR-barcoderocket.pdf.
Why it matters
A reader holding your book can reach you with one scan: your newsletter, your next book, your reviews. Because the barcode and the QR code come in one file, your designer places one thing, and the spacing between them is already right.